
OpenCV 픽셀값 다루기 (Thresholding)
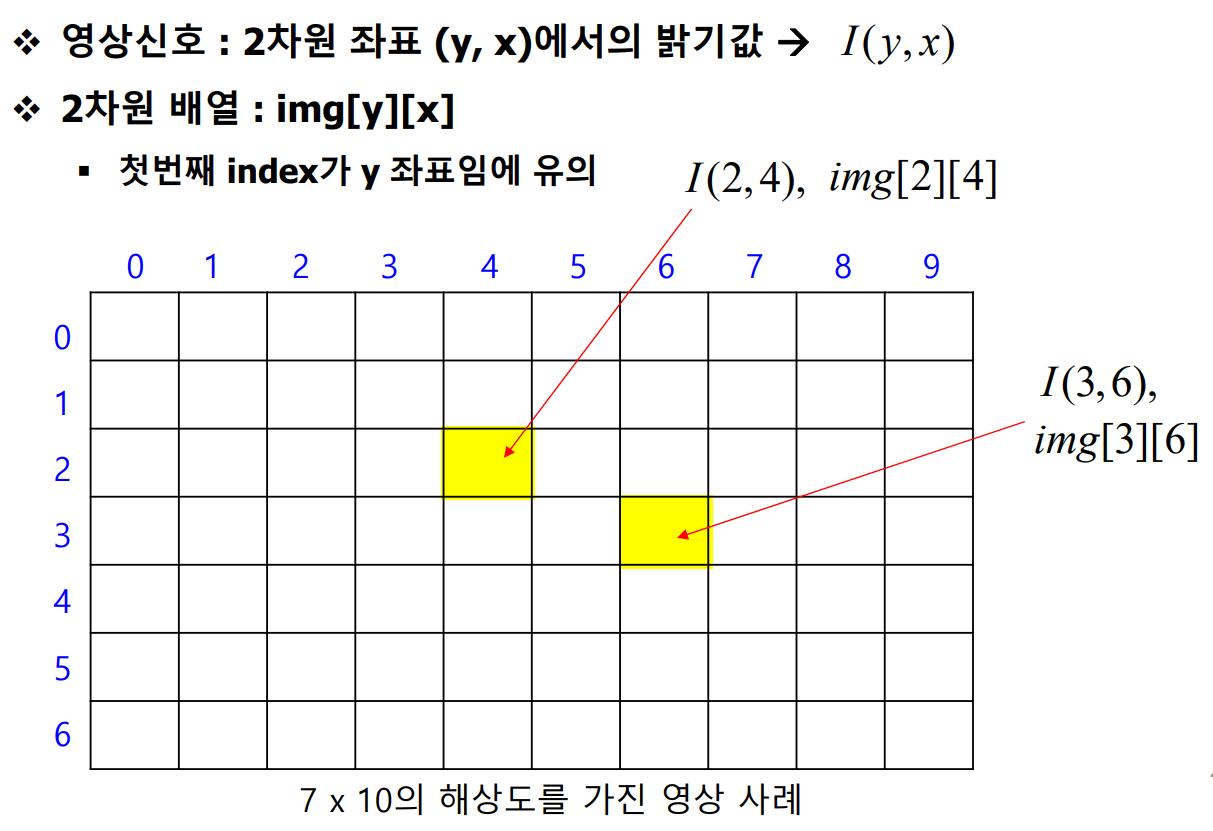
1. 영상신호와 배열
- img[y][x] 임에 유의한다.
- [행], [열] 이므로, [높이][열] ⇒ [y][x]이다.
2. 영상신호의 저장을 위한 2가지 방법
- 2차원 배열을 이용한 영상 선언
- 2차원 포인터를 이용한 영상 선언
2.1 2차원 배열을 이용한 영상선언
- 7x10 크기 영상 -
높이(행)=7,폭(열)=10 을 위한 선언
int img[7][10];
- 좌표 (y,x) = (3,4)에 위치한 픽셀값의 변경
img[3][4] = 100;
2.2 2차원 포인터를 이용한 영상 선언 ***
- 7x10 크기 영상 (높이 = 7, 폭 = 10)을 위한 선언
int** img_ptr = (int**)IntAlloc2(7, 10);
- 좌표 (y,x) = (3,4)에 위치한 픽셀값의 변경
→ 2차원 배열을 사용하는 경우와 완전히 동일하다.
img_ptr[3][4] = 100;
- img_ptr이 더 이상 사용되지 않는 지점에서 메모리를 해제 권장
Intfree2(img_ptr, 7, 10);
※정리
다음과 같이 [높이][폭] 영상을 선언한후,
int img[7][10];
int** img_ptr = (int**)IntAlloc2(7, 10);
(두의미가 같다)
다음과 같이 픽셀값을 설정한다.
img[3][4] = 100;
img_ptr[3][4] = 100;
포인터를 이용할때는, 더이상 사용되지 않는 지점에서 메모리 해제를 한다.
Intfree2(img_ptr, 7, 10);
2.3 예제
2.3.1 128x256 영상의 모든 픽셀값을 128의 밝기값으로 설정하라.
→ 높이와 폭을 변수로 설정하면 편리하다.
void main()
{
	int height = 128, width = 256; // 영상의 높이와 너비를 각각 128, 256으로 설정
	int** img_ptr = (int**)IntAlloc2(height, width); // 2차원 배열 동적 할당 함수(IntAlloc2)를 사용하여 height x width 크기의 배열을 img_ptr로 할당

	// 이중 for문을 사용하여 각 픽셀의 값을 128로 설정
	for (int y = 0; y < height; y++)
		for (int x = 0; x < width; x++) {
			img_ptr[y][x] = 128; // img_ptr 배열의 각 요소(픽셀)에 128 값을 설정 (회색 이미지)
		}

	////각각의 파라미터 다시한번 확인**
	ImageShow("영상보기", img_ptr, height, width); // "영상보기" 창에 할당된 이미지 데이터를 보여줌
	IntFree2(img_ptr, height, width); // 동적 할당된 2차원 배열 img_ptr을 해제
}
2.3.2 32≤ y < 96, 64 ≤ x <96 일떄는 픽셀값: 128
otherwise는 255를 구현해라.
void main()
{
	int height = 128, width = 256; // 영상의 높이와 너비를 각각 128, 256으로 설정
	int** img_ptr = (int**)IntAlloc2(height, width); // 2차원 배열 동적 할당 함수(IntAlloc2)를 사용하여 height x width 크기의 배열을 img_ptr로 할당

	// 전체 이미지의 모든 픽셀을 256으로 설정
	for (int y = 0; y < height; y++) {
		for (int x = 0; x < width; x++) {
			img_ptr[y][x] = 256; // 모든 픽셀 값을 256으로 설정 (하얀색 또는 최대 값)
		}
	}

	// 특정 영역(32 <= y < 96, 64 <= x < 96)을 128로 변경
	for (int y = 32; y < 96; y++) {
		for (int x = 64; x < 96; x++) {
			img_ptr[y][x] = 128; // 지정된 부분의 픽셀 값을 128로 설정 (회색)
		}
	}

	ImageShow("영상보기", img_ptr, height, width); // "영상보기" 창에 할당된 이미지 데이터를 보여줌
	IntFree2(img_ptr, height, width); // 동적 할당된 2차원 배열 img_ptr을 해제
}
2.3.3 참고
영상의 픽셀값의 범위

- Gray 영상의 경우 0~225 //255가 하얀색 0이 검은색
- RGB 칼라 영상: R,G,B 각각 0~255 //모든 채널이 255일경우 하얀색이다.

또한 보통 이미지해상도는 `512 x 512` 이다.
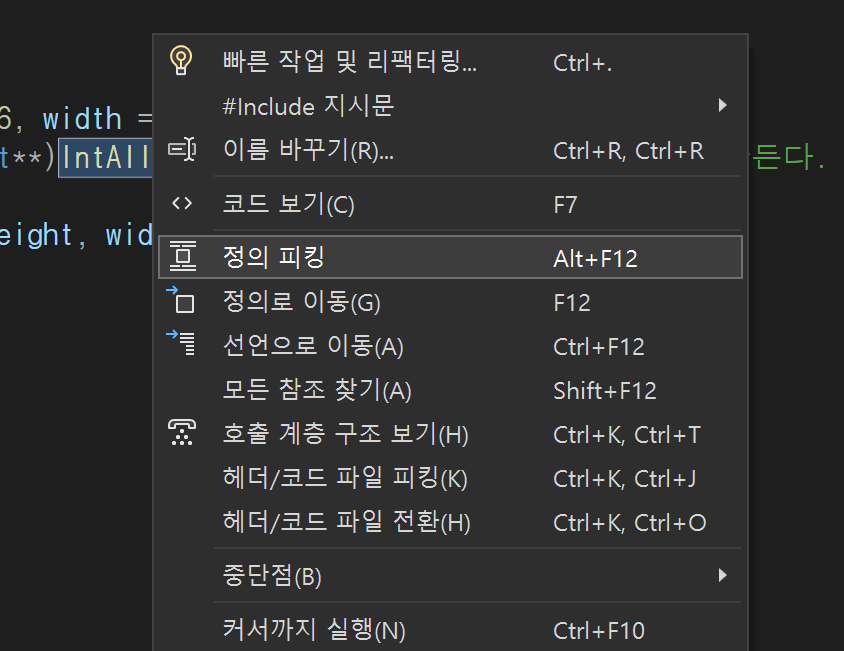
2.3.4 정의 피킹 사용
- 함수가 궁금하면 오른쪽 마우스로 정의피킹으로 이동한다.
3. 선이나 도형 그리기
3.0 기본코드 작성**
다음과 같은 코드를 미리 작성한다.
#include <stdio.h>
#include <stdlib.h>
#include <math.h>
#include <malloc.h>

#include <opencv2/opencv.hpp>

using namespace cv;

typedef struct {
	int r, g, b;
}int_rgb;

int** IntAlloc2(int height, int width)
{
	int** tmp;
	tmp = (int**)calloc(height, sizeof(int*));
	for (int i = 0; i < height; i++)
		tmp[i] = (int*)calloc(width, sizeof(int));
	return(tmp);
}

void IntFree2(int** image, int height, int width)
{
	for (int i = 0; i < height; i++)
		free(image[i]);

	free(image);
}

float** FloatAlloc2(int height, int width)
{
	float** tmp;
	tmp = (float**)calloc(height, sizeof(float*));
	for (int i = 0; i < height; i++)
		tmp[i] = (float*)calloc(width, sizeof(float));
	return(tmp);
}

void FloatFree2(float** image, int height, int width)
{
	for (int i = 0; i < height; i++)
		free(image[i]);

	free(image);
}

int_rgb** IntColorAlloc2(int height, int width)
{
	int_rgb** tmp;
	tmp = (int_rgb**)calloc(height, sizeof(int_rgb*));
	for (int i = 0; i < height; i++)
		tmp[i] = (int_rgb*)calloc(width, sizeof(int_rgb));
	return(tmp);
}

void IntColorFree2(int_rgb** image, int height, int width)
{
	for (int i = 0; i < height; i++)
		free(image[i]);

	free(image);
}

int** ReadImage(char* name, int* height, int* width)
{
	Mat img = imread(name, IMREAD_GRAYSCALE);
	int** image = (int**)IntAlloc2(img.rows, img.cols);

	*width = img.cols;
	*height = img.rows;

	for (int i = 0; i < img.rows; i++)
		for (int j = 0; j < img.cols; j++)
			image[i][j] = img.at<unsigned char>(i, j);

	return(image);
}

void WriteImage(char* name, int** image, int height, int width)
{
	Mat img(height, width, CV_8UC1);
	for (int i = 0; i < height; i++)
		for (int j = 0; j < width; j++)
			img.at<unsigned char>(i, j) = (unsigned char)image[i][j];

	imwrite(name, img);
}

void ImageShow(char* winname, int** image, int height, int width)
{
	Mat img(height, width, CV_8UC1);
	for (int i = 0; i < height; i++)
		for (int j = 0; j < width; j++)
			img.at<unsigned char>(i, j) = (unsigned char)image[i][j];
	imshow(winname, img);
	waitKey(0);
}

int_rgb** ReadColorImage(char* name, int* height, int* width)
{
	Mat img = imread(name, IMREAD_COLOR);
	int_rgb** image = (int_rgb**)IntColorAlloc2(img.rows, img.cols);

	*width = img.cols;
	*height = img.rows;

	for (int i = 0; i < img.rows; i++)
		for (int j = 0; j < img.cols; j++) {
			image[i][j].b = img.at<Vec3b>(i, j)[0];
			image[i][j].g = img.at<Vec3b>(i, j)[1];
			image[i][j].r = img.at<Vec3b>(i, j)[2];
		}

	return(image);
}

void WriteColorImage(char* name, int_rgb** image, int height, int width)
{
	Mat img(height, width, CV_8UC3);
	for (int i = 0; i < height; i++)
		for (int j = 0; j < width; j++) {
			img.at<Vec3b>(i, j)[0] = (unsigned char)image[i][j].b;
			img.at<Vec3b>(i, j)[1] = (unsigned char)image[i][j].g;
			img.at<Vec3b>(i, j)[2] = (unsigned char)image[i][j].r;
		}

	imwrite(name, img);
}

void ColorImageShow(char* winname, int_rgb** image, int height, int width)
{
	Mat img(height, width, CV_8UC3);
	for (int i = 0; i < height; i++)
		for (int j = 0; j < width; j++) {
			img.at<Vec3b>(i, j)[0] = (unsigned char)image[i][j].b;
			img.at<Vec3b>(i, j)[1] = (unsigned char)image[i][j].g;
			img.at<Vec3b>(i, j)[2] = (unsigned char)image[i][j].r;
		}
	imshow(winname, img);

}

template <typename _TP>
void ConnectedComponentLabeling(_TP** seg, int height, int width, int** label, int* no_label)
{

	//Mat bw = threshval < 128 ? (img < threshval) : (img > threshval);
	Mat bw(height, width, CV_8U);

	for (int i = 0; i < height; i++) {
		for (int j = 0; j < width; j++)
			bw.at<unsigned char>(i, j) = (unsigned char)seg[i][j];
	}
	Mat labelImage(bw.size(), CV_32S);
	*no_label = connectedComponents(bw, labelImage, 8); // 0        Ե

	(*no_label)--;

	for (int i = 0; i < height; i++) {
		for (int j = 0; j < width; j++)
			label[i][j] = labelImage.at<int>(i, j);
	}
}

#define imax(x, y) ((x)>(y) ? x : y)
#define imin(x, y) ((x)<(y) ? x : y)

int BilinearInterpolation(int** image, int width, int height, double x, double y)
{
	int x_int = (int)x;
	int y_int = (int)y;

	int A = image[imin(imax(y_int, 0), height - 1)][imin(imax(x_int, 0), width - 1)];
	int B = image[imin(imax(y_int, 0), height - 1)][imin(imax(x_int + 1, 0), width - 1)];
	int C = image[imin(imax(y_int + 1, 0), height - 1)][imin(imax(x_int, 0), width - 1)];
	int D = image[imin(imax(y_int + 1, 0), height - 1)][imin(imax(x_int + 1, 0), width - 1)];

	double dx = x - x_int;
	double dy = y - y_int;

	double value
		= (1.0 - dx) * (1.0 - dy) * A + dx * (1.0 - dy) * B
		+ (1.0 - dx) * dy * C + dx * dy * D;

	return((int)(value + 0.5));
}

void DrawHistogram(char* comments, int* Hist)
{
	int histSize = 256; /// Establish the number of bins
	// Draw the histograms for B, G and R
	int hist_w = 512; int hist_h = 512;
	int bin_w = cvRound((double)hist_w / histSize);

	Mat histImage(hist_h, hist_w, CV_8UC3, Scalar(255, 255, 255));
	Mat r_hist(histSize, 1, CV_32FC1);
	for (int i = 0; i < histSize; i++)
		r_hist.at<float>(i, 0) = Hist[i];
	/// Normalize the result to [ 0, histImage.rows ]
	normalize(r_hist, r_hist, 0, histImage.rows, NORM_MINMAX, -1, Mat());

	/// Draw for each channel
	for (int i = 1; i < histSize; i++)
	{
		line(histImage, Point(bin_w * (i - 1), hist_h - cvRound(r_hist.at<float>(i - 1))),
			Point(bin_w * (i), hist_h - cvRound(r_hist.at<float>(i))),
			Scalar(255, 0, 0), 2, 8, 0);
	}

	/// Display
	namedWindow(comments, WINDOW_AUTOSIZE);
	imshow(comments, histImage);

	waitKey(0);

}
3.1 가로줄 긋기
for문을 이용하여 x값을 변화를 준다.
void main()
{
	int height = 512, width = 1024;
	int** img = (int**)IntAlloc2(height, width); //이미지 배열을 만든다.

	int y = 256;
	int x = 512;

	for (int x = 0;x<width; x++)
	{
		img[y][x] = 255;

	}


	printf("%d \n", img[100][200]);
	ImageShow((char*)"output", img, height, width);

	IntFree2(img, height, width); //메모리 free를 해준다.
}
가로줄이 생긴것을 알 수 있다.
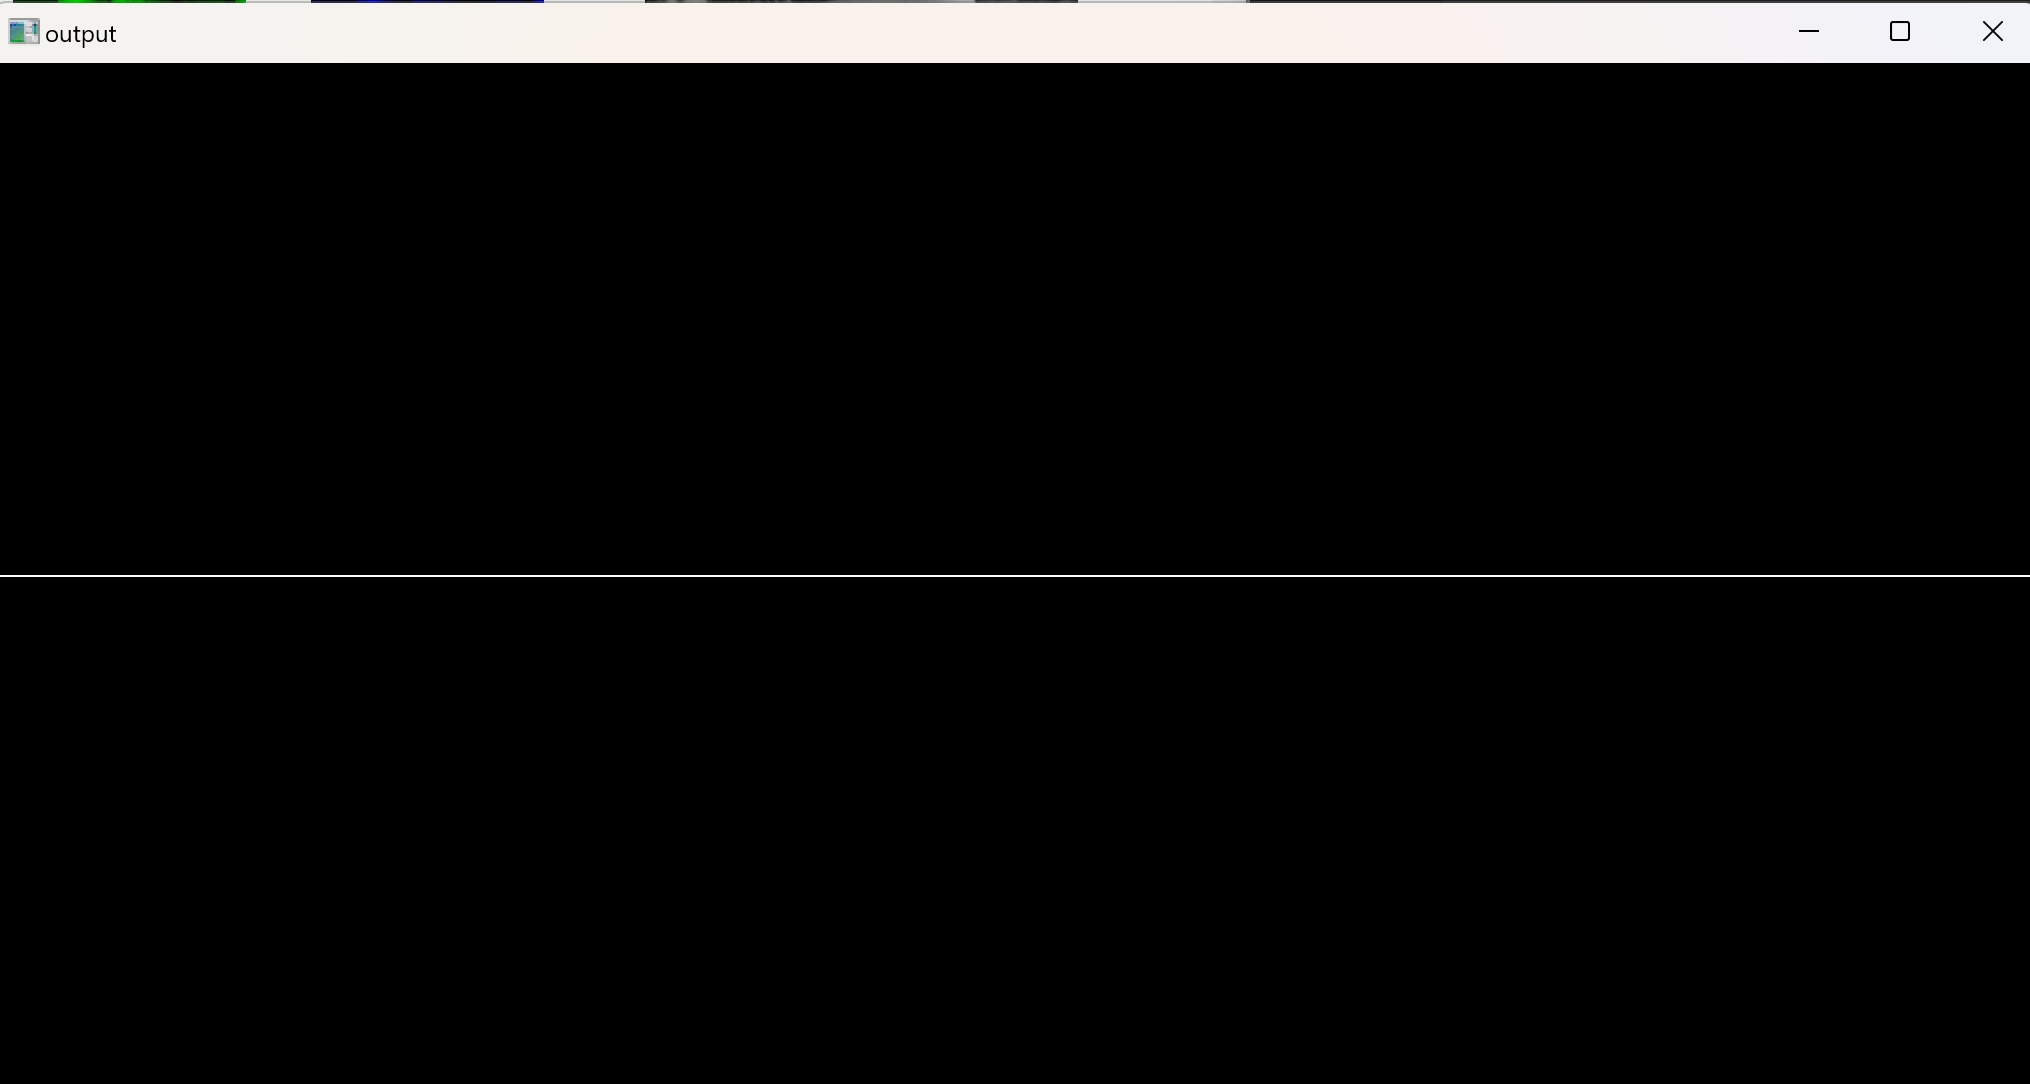
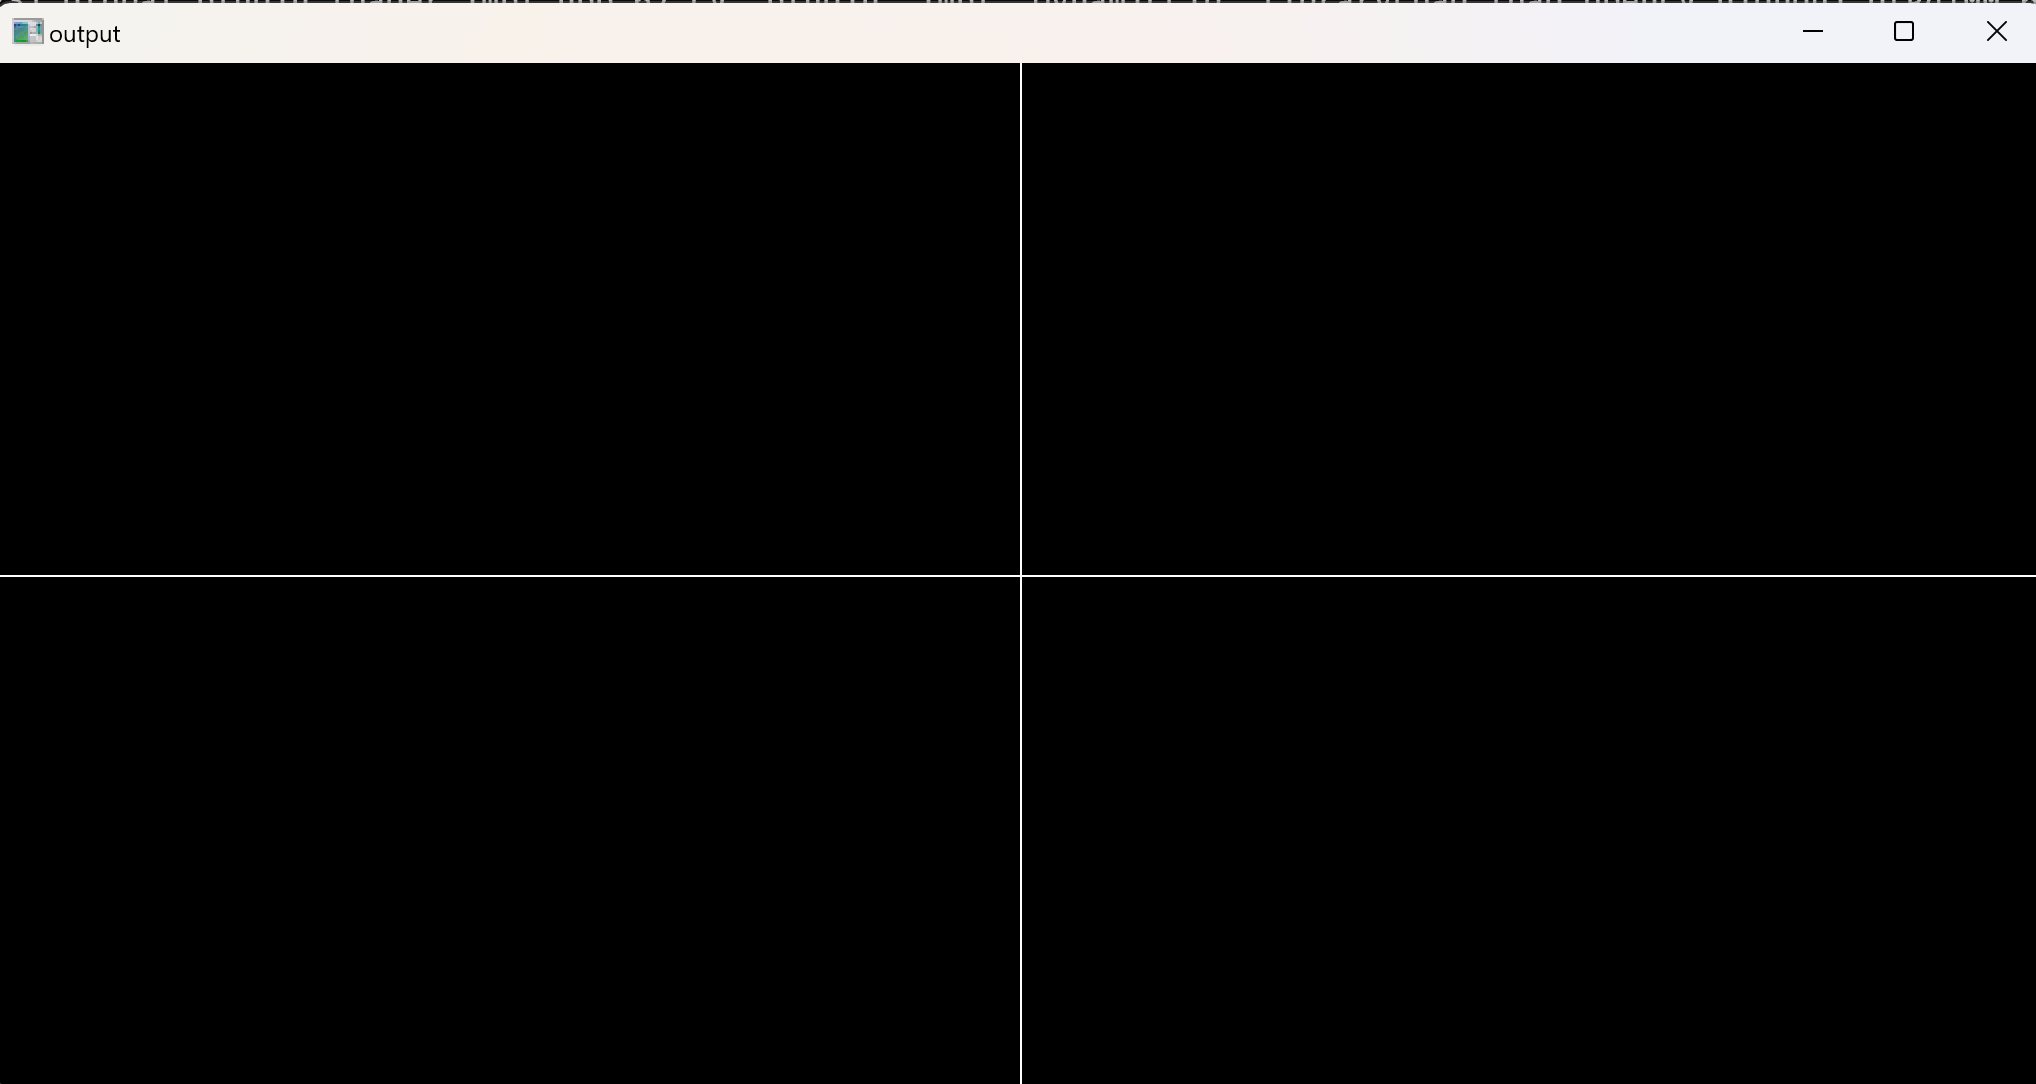
3.2 세로줄 긋기
다음 코드를 추가하면 세로선이 추가된다. (y값에 변화를 준다.)
	for (int y = 0; y < height; y++)
	{
		img[y][x] = 255;
	}
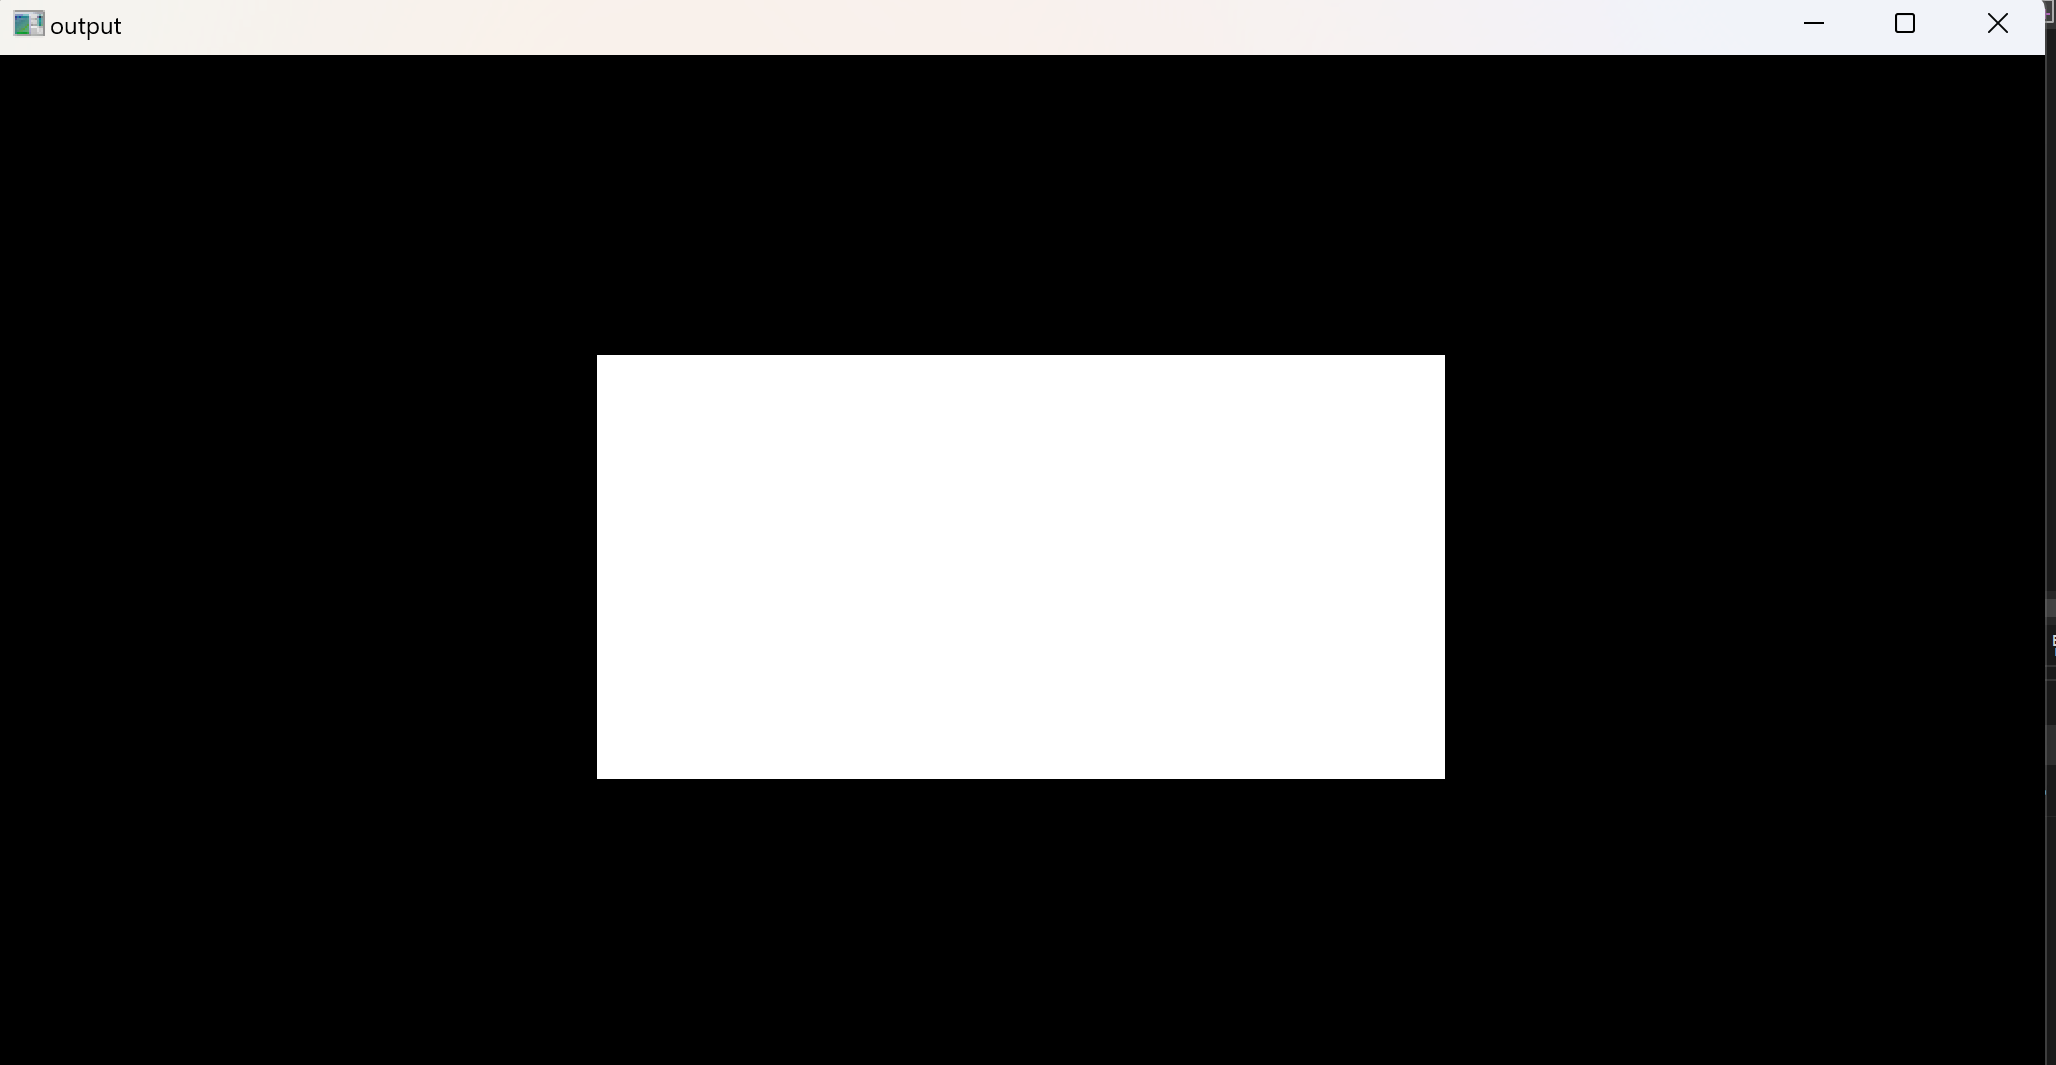
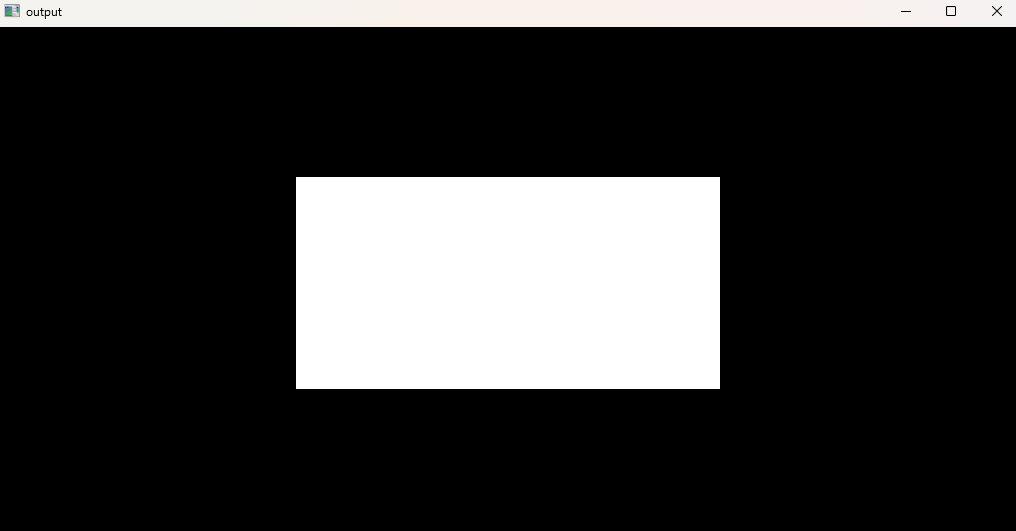
3.3 사각형 만들기
다음 코드를 추가하여 사각형을 만든다.
void main()
{
	int height = 512, width = 1024;
	int** img = (int**)IntAlloc2(height, width); //이미지 배열을 만든다.

	//y= [150,512-400)
	//x= [300, 1024-300)


	for (int y = 150; y < height-150; y++)
	{
		for (int x=300; x<width-300;x++)
			img[y][x] = 255;

	}

	printf("%d \n", img[100][200]);
	ImageShow((char*)"output", img, height, width);

	IntFree2(img, height, width); //메모리 free를 해준다.

}
또는 다음과 같이
/*호출되는 함수*/
void drawLine(int** imgxx,int height, int width, int y, int x )
{
	for (int y = 150; y < height - 150; y++)
	{
		for (int x = 300; x < width - 300; x++)
			imgxx[y][x] = 255;

	}
}

/*호출하는 함수*/
void main()
{
	int height = 512, width = 1024;
	int** img = (int**)IntAlloc2(height, width); //이미지 배열을 만든다.
	int x0=0, y0=0;

	drawLine(img,height, width,  y0,  x0); //호출할떄는 타입을 사용하지 않는다.

	printf("%d \n", img[100][200]);
	ImageShow((char*)"output", img, height, width);

	IntFree2(img, height, width); //메모리 free를 해준다.

}
3.4 참고
- 참고로 다음과 같이 오류가 뜨면 실행창을 닫지 않았는지 확인해본다.

4. 영상 읽기 & 쓰기
4.1 영상 읽기 & 쓰기 함수**
int** ReadImage(char* filename, int* height, int* width)- 주어진 파일명을 통해 이미지를 읽어오고, 이미지의 높이와 너비를 반환하는 함수입니다.
- 반환 값은 이미지 데이터를 저장한 2차원 배열 포인터입니다.
void WriteImage(char* filename, int** img, int height, int width)- 주어진 파일명으로 이미지를 저장하는 함수입니다.
- 이미지 데이터는
int** img배열로 전달받고, 높이와 너비 정보가 함께 전달됩니다.
4.2 예시
-
이미지 읽기:
int** img = ReadImage("Barbara.png", &height, &width);Barbara.png파일을 읽어와서 이미지 데이터(img), 이미지 높이(height), 이미지 너비(width)를 가져옵니다.
-
이미지 쓰기:
WriteImage("wr_test.png", img, height, width);img데이터(이미지)를wr_test.png파일로 저장합니다
예시코드
int main()
{
	int height, width;

	// 이미지 파일을 읽어오기
	int** img = (int**)ReadImage((char*)"images/barbara.png", &height, &width);

	// 이미지 출력
	ImageShow((char*)"영상보기", img, height, width);

	// 이미지 파일로 저장
	WriteImage((char*)"wr_test.png", img, height, width);

	return 0;
}
barbara.png이미지가 뜨고, wr_test.png파일로 저장된것을 확인할 수 있다.

4.3 예시문제
영상이 이중포인터 int** img로 선언되고 메모리 할당이 되었을때, 픽셀 좌표가 (x,y)=(10,20)인 픽셀값을 100으로 만드는 명렁어는?
→ image[y][x] 인것을 잘 확인할것
img[20][10] = 100;
영상을 읽고 쓰는 함수의 프로토타입을 쓰시오\
→ 포인터를 잘 확인할것
int** ReadImage(char* filename, int** img, int height, int width)

void WriteImage(char* filename, int** img, int height, int width)
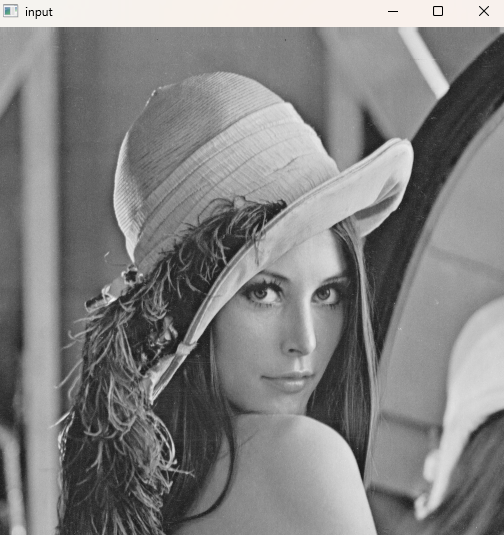
5. 영상 이진화
5.1 영상 이진화
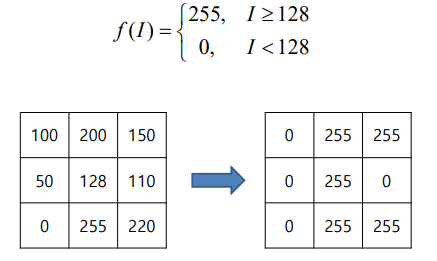
문턱값 이상은 255, 미만은 0으로 픽셀값을 반환한다.
Threashold : 어떤 기준값을 의미하며, 특정 상황에서 변화를 결정하는 경계선으로 사용된다.
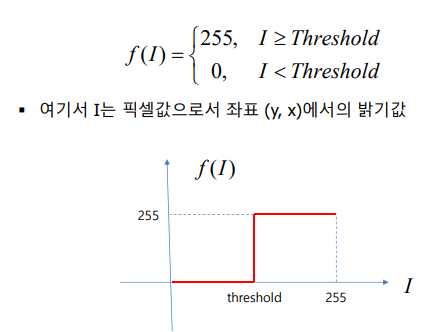
예를 들어, Threshold가 128이라면,
128 이상의 값은 255로, 미만의 값은 0으로 설정한다.
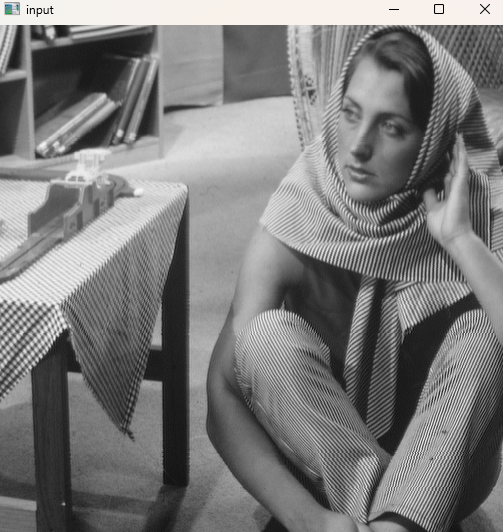
5.2 Thresholding
if문 이
int ex0924_1(){
	int height;
	int width;

	int** img = ReadImage((char*)"./images/barbara.png", &height, &width);
	int** img_out = (int**)IntAlloc2(height, width);

	int threshold = 128;
	for (int y = 0; y < height; y++)
	{
		for (int x = 0; x < width; x++)
		{
			if (img[y][x] > threshold) img_out[y][x] = 255;
			else img_out[y][x] = 0;
		}
	}
	ImageShow((char*)"input", img, height, width);
	ImageShow((char*)"output", img_out, height, width);
	return 0;
}
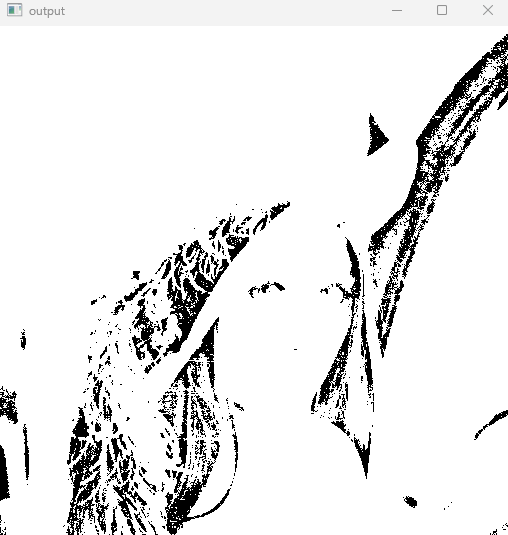
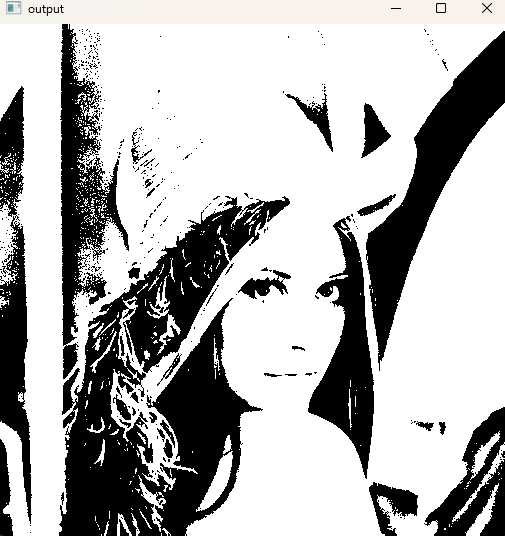
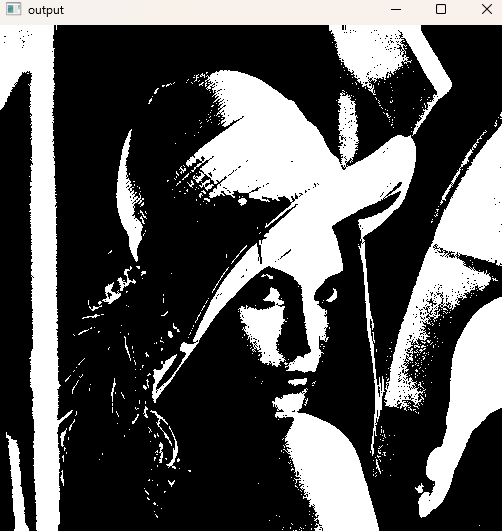
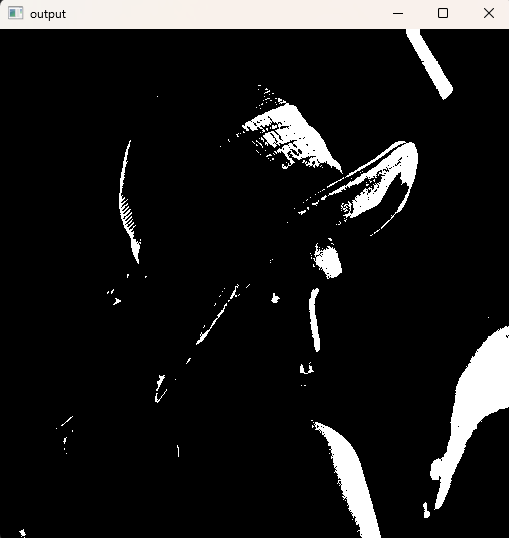
5.3 Threshold값들 점차 늘리기
- 문턱값을 50, 100, 150, 200으로 변화시키면서 그림을 화면에 보여주는 프로그램을 작성하
void Thresholdings(int threshold, int** img, int height, int width, int** img_out)
다음값을 받아와야함을 확인.
void Thresholdings(int threshold, int** img, int height, int width, int** img_out)
{
	for (int y = 0; y < height; y++)
	{
		for (int x = 0; x < width; x++)
		{
			if (img[y][x] > threshold) img_out[y][x] = 255;
			else img_out[y][x] = 0;
		}
	}
}

int main() {

	int height, width;
	int** img = ReadImage((char*)"./images/lena.png", &height, &width);
	int** img_out = (int**)IntAlloc2(height, width);
	int threshold = 200;

	/*Threshold 값을 50에서 50씩 늘린다. 50 100 150 200*/
	for (threshold = 50; threshold < 250; threshold += 50) {

		Thresholdings(threshold, img, height, width, img_out);
		ImageShow((char*)"output", img_out, height, width);

	}
	ImageShow((char*)"input", img, height, width);

}
5.4 예시문제
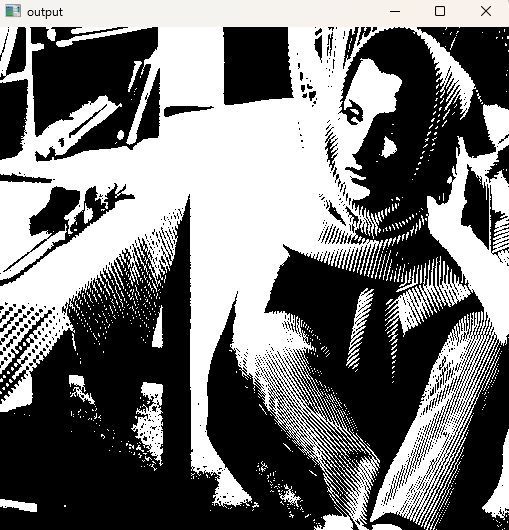
5.4.1 입력영상을 정사각형으로 4등분하여 각각에 대해 문턱값 50, 100, 150, 200을 적용하여 화면으로 출력하는 프로그램을 작성하라.
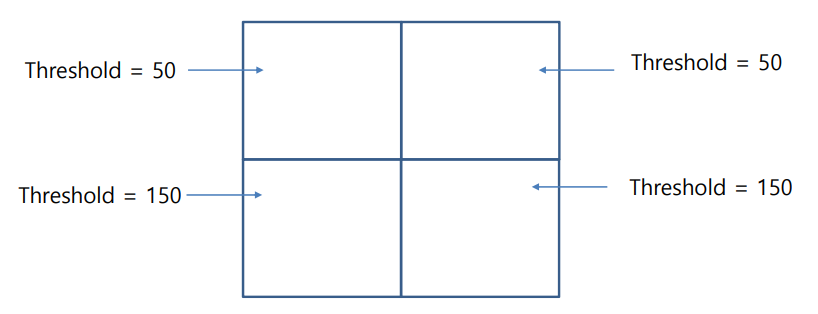
구역을 4등분하는 반복문에 주의
int main() {

	int height, width;
	int** img = (int**)ReadImage((char*)"./images/barbara.png", &height, &width);
	int** img_out = (int**)IntAlloc2(height, width);

	/* 영역 1
	Threshold=50 */
	for (int y = 0; y < height / 2; y++)
	{
		for (int x = 0; x < width / 2; x++)
		{
			if (img[y][x] >= 50)img_out[y][x] = 255;
			else img_out[y][x] = 0;
		}
	}
	/* 영역 2
	Threshold=100 */
	for (int y = 0; y < height / 2; y++)
	{
		for (int x = width/2; x < width; x++)
		{
			if (img[y][x] >= 100)img_out[y][x] = 255;
			else img_out[y][x] = 0;
		}
	}

	/* 영역 3
	Threshold=150 */
	for (int y = height/2; y < height; y++)
	{
		for (int x = 0; x < width / 2; x++)
		{
			if (img[y][x] >= 150)img_out[y][x] = 255;
			else img_out[y][x] = 0;
		}
	}

	/* 영역 3
Threshold=200 */
	for (int y = height/2; y < height / 2; y++)
	{
		for (int x = width/2; x < width; x++)
		{
			if (img[y][x] >= 200)img_out[y][x] = 255;
			else img_out[y][x] = 0;
		}
	}

	ImageShow((char*) "출력영상보기", img_out, height, width);

}
또는 함수를 이용하는 방법
void Thresholding_partial(int threshold, int y_st, int y_end, int x_st, int x_end,
	int** img, int height, int width, int** img_out)
{
	for (int y = y_st; y < y_end; y++) {
		for (int x = x_st; x < x_end; x++) {
			if (img[y][x] >= threshold) img_out[y][x] = 255;
			else img_out[y][x] = 0;
		}
	}

}

int main() {

	int height, width;
	int** img = (int**)ReadImage((char*)"./images/barbara.png", &height, &width);
	int** img_out = (int**)IntAlloc2(height, width);

	Thresholding_partial(50, 0, height / 2, 0, width / 2, img, height, width, img_out);
	Thresholding_partial(100, 0, height / 2, width / 2, width, img, height, width, img_out);
	Thresholding_partial(150, height / 2, height, 0, width / 2, img, height, width, img_out);
	Thresholding_partial(200, height / 2, height, width / 2, width, img, height, width, img_out);
	ImageShow((char*) "출력영상보기", img_out, height, width);

}

댓글남기기